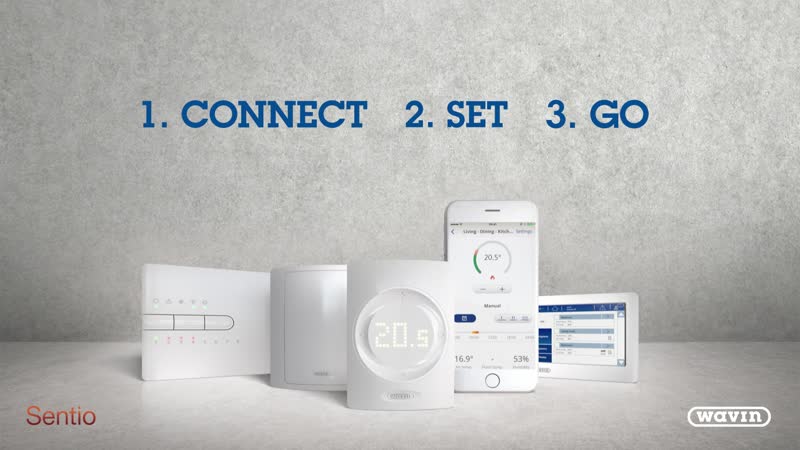
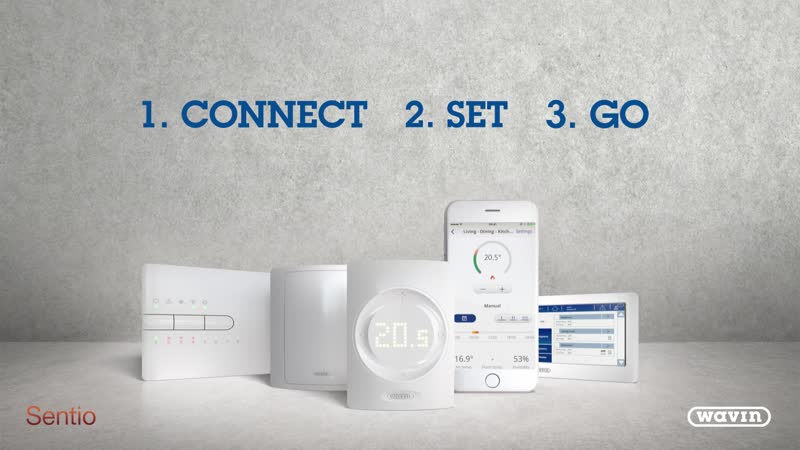
Wavin Sentio Controls
Experience the next level of indoor comfort with Wavin Sentio, our revolutionary indoor climate control solution.
How to videos - installation


How to videos - users


Frequently asked questions
On the control unit, one of the LED lights for channels 1-8 (or 9-16 if using an extension unit) is flashing fast red. |
Why: The channel is overloaded. There are more than the maximum 2 thermal actuators, or other devices, connected to the output. As a result, the power consumption is too high. Solution: Check inside the control unit to see how many actuators are connected to the affected output. The maximum is 2 per output (A1 to A8) in the control unit, and 1 per output (A9 to A16) in the extension unit. Check that the actuator is of the correct voltage (24 V/DC) with a load of no more than 1W/0.4 A. Replace any actuators with faulty or damaged wiring. |
The LED display of the thermostat/sensor does not light up when touched. |
Why: There is no communication from the CCU to the room thermostat/sensor. The thermostat may have been wired in an incorrect configuration, or with the wrong cable type. In the case of wireless thermostats/sensors, the batteries may be empty. Solution: Check that the cables are connected correctly both at the control unit and the thermostat/sensor. Check that the wiring is of the correct type (4-core low-voltage/security cable, Cat5e/6 or similar) and in good condition (i.e. not twisted or damaged). For wireless thermostats/sensors, replace the batteries. |
Connection with thermostat/sensor lost or temporarily interrupted. |
Why: There may be a fault in the wired connection between the control unit and the room thermostat/sensor. The incorrect cable type may have been used. In the case of wireless thermostats/sensors, there may be a very weak wireless signal. Solution: Check that the cables are connected correctly both at the control unit and the thermostat/sensor. Check for continuity from one end of the wire to the other, and make sure there is no short circuit between individual wires. Check that the room thermostat or control unit is not mounted on a metal surface or housing that may be shorting the connection. For wireless thermostats/sensors, check for any non-certified wireless products within the range of the control system, as this may be causing interference. If the weak signal cannot be remedied, an external antenna is available to improve the signal strength. |
Room thermostat/sensor cannot be enrolled/connected to the control unit. |
Why: The control unit is not receiving a link signal, or the room thermostat is not sending a link signal. Solution: Ensure that the LED light of the required output channel is flashing green, indicating that the control unit is ready to be paired. Check that the thermostat/sensor is responsive when touched, and attempt the enrolment process as normal. If this fails, check the wiring for faults as per the solution for “Connection with thermostat lost/temporarily interrupted” above, or remove and reinsert the batteries for wireless thermostats. |
One or more rooms are overheated or there is no heat in one or more rooms. |
Why: Room thermostats/sensors may be linked to the wrong room. Solution: Reset the thermostats and reconnect them to the CCU. Make sure the thermostat belonging to room "XX" is connected to the output(s) with the relevant actuators for room XX. To avoid confusion, it is recommended to label the outputs on the manifold. |
Thermostat is showing a “no entry” symbol. |
Why: The thermostat is in the process of synchronising data. Solution: Wait a little for the synchronisation process to complete before attempting to use the thermostat again. |
The heating is active but the pump is not running. |
Why: Pump delay is active, or incorrect pump relay may be assigned. Solution: By default, the pump is set to start running 5 minutes after the first demand for heating. This is to allow the actuators to open fully before the water begins circulating. It is recommended to keep the default setting, but the delay time can be adjusted using the LCD touch screen: System | Installer settings | Hardware profile | Configure required inputs and output | Relays | Pump 1, and change the “Start delay” value to the preferred value. All rooms and outputs are assigned by default to the Pump 1 relay. If your pump is connected to the Pump 2 relay, you will need to reassign the relevant zones using the LCD screen: System | Functions | HCC/ITC | Room Assignment. |
The Smart Radiator Thermostat is giving an “installation incorrect” error. |
Why: The radiator valve was not successfully detected during the automatic calibration process. Solution: Ensure that the Smart Radiator Thermostat is correctly connected to the radiator valve, then remove and reinsert the batteries to restart the calibration process. |
The control unit is showing white LEDs during installation. |
Why: The first opening of actuators (FOA) function is active. Solution: The actuators are supplied half-opened, and during the first running of the system they will fully open and then fully close to ensure they have the full range of movement. This will take around 10-20 minutes to complete, and commissioning can continue as normal while the process is running. This is a critical system function that cannot be skipped or turned off. |
The control unit is showing a flashing blue LED for one or more zones. |
Why: Cooling is blocked. Dew point protection may be active, or an inlet sensor may be missing. Solution: When in cooling mode, Sentio will automatically protect against risk of condensation using the room thermostat’s inbuilt humidity sensor. Dew point is calculated per room and compared to the inlet temperature or floor temperature. If the inlet temperature falls below the dew point, the cooling will be blocked to avoid condensation. For cooling mode, there is always an inlet sensor needed to ensure the system is running at a safe level. This function cannot be switched off, but the safety margin can be changed using the LCD commissioning screen: Programs | Summer/winter mode | Cooling settings. |
The control unit is showing a purple LED for one or more zones. |
Why: These zones contain a Smart Radiator Thermostat (SRT) only. Solution: This is the normal function when the room only contains an SRT, with no additional thermostats or actuators. The purple LED denotes that the SRT is functioning normally. |
Warning message saying “Incompatible periphery detected please update software”. |
Why: A component has an older firmware version than the main control unit. Solution: Trigger the auto-update function on the control unit by using the arrows to navigate to the Network LED and pressing Enter. If the LED turns solid blue, an update is available. If the system is connected to the internet, all control units and connected components will update simultaneously to the newest firmware version. If the system is offline, the update process will allow the control unit to push its current firmware version out to the connected components, ensuring that all versions then match. |
Can Sentio work alongside a Building Management System (BMS)? |
Sentio can be connected as a slave to a Building Management System via Modbus RTU and TCP/IP. The Sentio system itself will still remain in charge of the underfloor heating. It is not possible for the BMS to fully control Sentio’s outputs as that would remove much of the functionality of Sentio. Further information, including connection details and Modbus registers, can be found in the Modbus guide. |
Does the Smart Radiator Thermostat (SRT) also require a room thermostat? |
The Smart Radiator Thermostat has an integrated temperature sensor and can therefore work on a standalone basis, but only if you have access to the mobile app to adjust the temperature settings. If you do not have the app, or in cases where the SRT cannot accurately estimate the temperature, a room thermostat can be added. When both are added to the same room, the SRT will allow the room thermostat to take control over when it opens and closes. |
How do I rename rooms? |
Rooms can be renamed using the LCD touch screen, to make it much easier to identify the correct room for future setting changes or maintenance. When the system is connected to the app for the first time, these room names will also be imported. Note that this process does not work in reverse i.e. changing the room names in the app would not change the names on the LCD screen. The app can change the “display name” only. |
What is the maximum number of components that can be added into one Sentio system? |
Most underfloor heating/cooling installations will typically have one control unit (CCU) for every manifold, so it is unlikely in the majority of cases that the maximum component numbers will be exceeded. For larger systems, one CCU is capable of connections for up to: 2 extension units; 24 room thermostats/sensors; 16 thermal actuators; 16 Smart Radiator Thermostats; and 1 outdoor temperature sensor. |
Software updates
Regular firmware updates for the Sentio ensure that you always have access to the latest features and advancements in smart climate control. These updates enhance system performance, improve energy efficiency, and introduce new functionalities, keeping your home environment optimized for comfort.
By regularly updating the firmware, we can address any potential issues, offer greater flexibility, and adapt to emerging technology trends, ensuring that Sentio controllers remains reliable, user-friendly, and perfectly suited to evolving needs.
This way, you can offer your custiomers a consistently improved and personalised indoor climate experience.
Please note! If you connect your Sentio controller to the internet, it is very easy to trigger the update via the controller.
Download newest firmware
FW 16 What's new?
New features | Description |
|---|---|
New Heat pump settings | Allow for more customizable control for heat pumps with two new delays on the VFR contacts: Runtime and Cycle delay. The outputs for heat pumps are grouped in a new menu where functions can be set quicker and easier. |
Heat pump buffer tank | Use the separation buffer tank as a buffer so the heat pump is not started if there is enough heat in the buffer tank. Temperature is checked before starting the heat pump. This can increase the runtime of the heat pump for each activation, increasing its optimalization over time. |
Reference room | In this new application profile 4.2 one room can be selected to function as a reference for switching the system between heating and cooling mode |
Changes | |
Global quiet mode | Silent mode/quiet hours/night setback have been bundled under a single ‘Quiet mode’ for all devices. From this one menu the time can be set for the whole system, each device can switch its quiet mode on/off |
Outdoor limits crossing | Outdoor limits could not cross, this was implemented for the automatic heating/cooling switchover but also active in manual switchover profiles. |
Fix | |
Fixes of minor bugs and errors |
NB: Please note before installing fw 16:
In very few cases will an update to FW-version 16.0 delete the settings for the analogue output.
This will only happen if your system is using the HW-profile 1.2, 2.2.1, 2.2.2.
How to see what profile you are using:
You can use either the Sentio Display or Sentio SmartConnect to see the HW-profile.
In both cases you find the used profile in this same place.
We recommend that you copy the settings before installing fw 16 and re-enter them after installation.