Wavin Hep2O Push-Fit Plumbing Installation
The guides below highlight the various features that make Hep2O a market leader.
Features of Hep2O include: In4sure, Hep Keys, 50 year guarantee, compatibility with Tigris K1 and connecting Hep2O to copper pipe.
How to connect Wavin Hep2O to bathroom appliances
This section highlights how to connect a hep2O pipe connection up to a tap to a bathtub, using a hand-tighten tap connector. A secureconnection ensured by In4sure without the use of any tools.
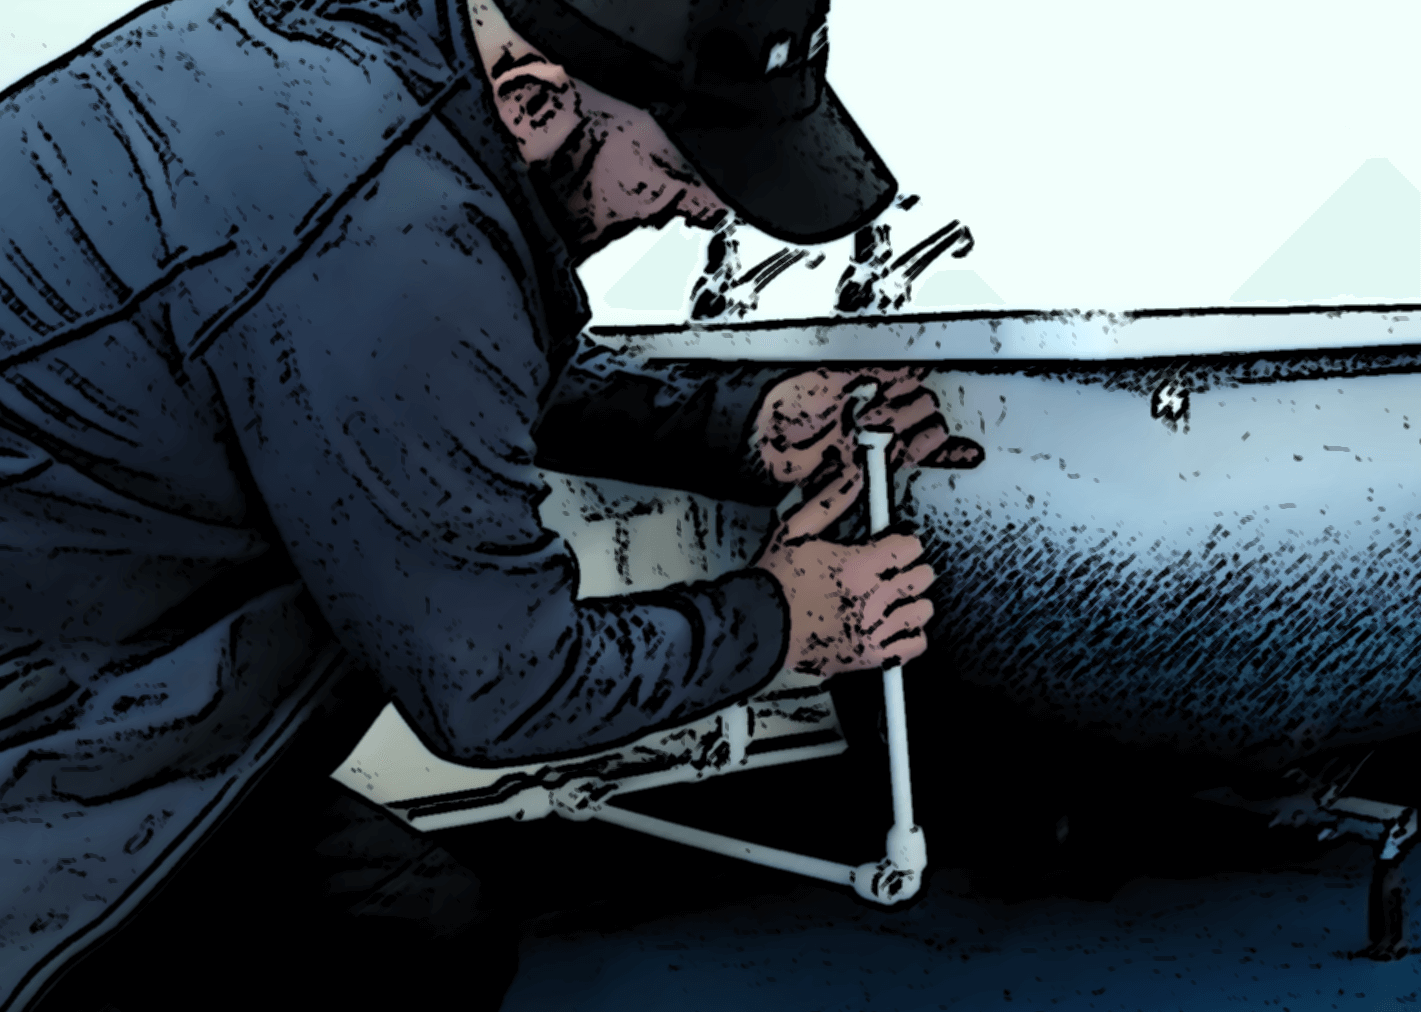
Step 1 - Hand tighten tap connector to tap
Take the hand tighten tap connector and screw it to the bottom of the tap connection of your bathtub.
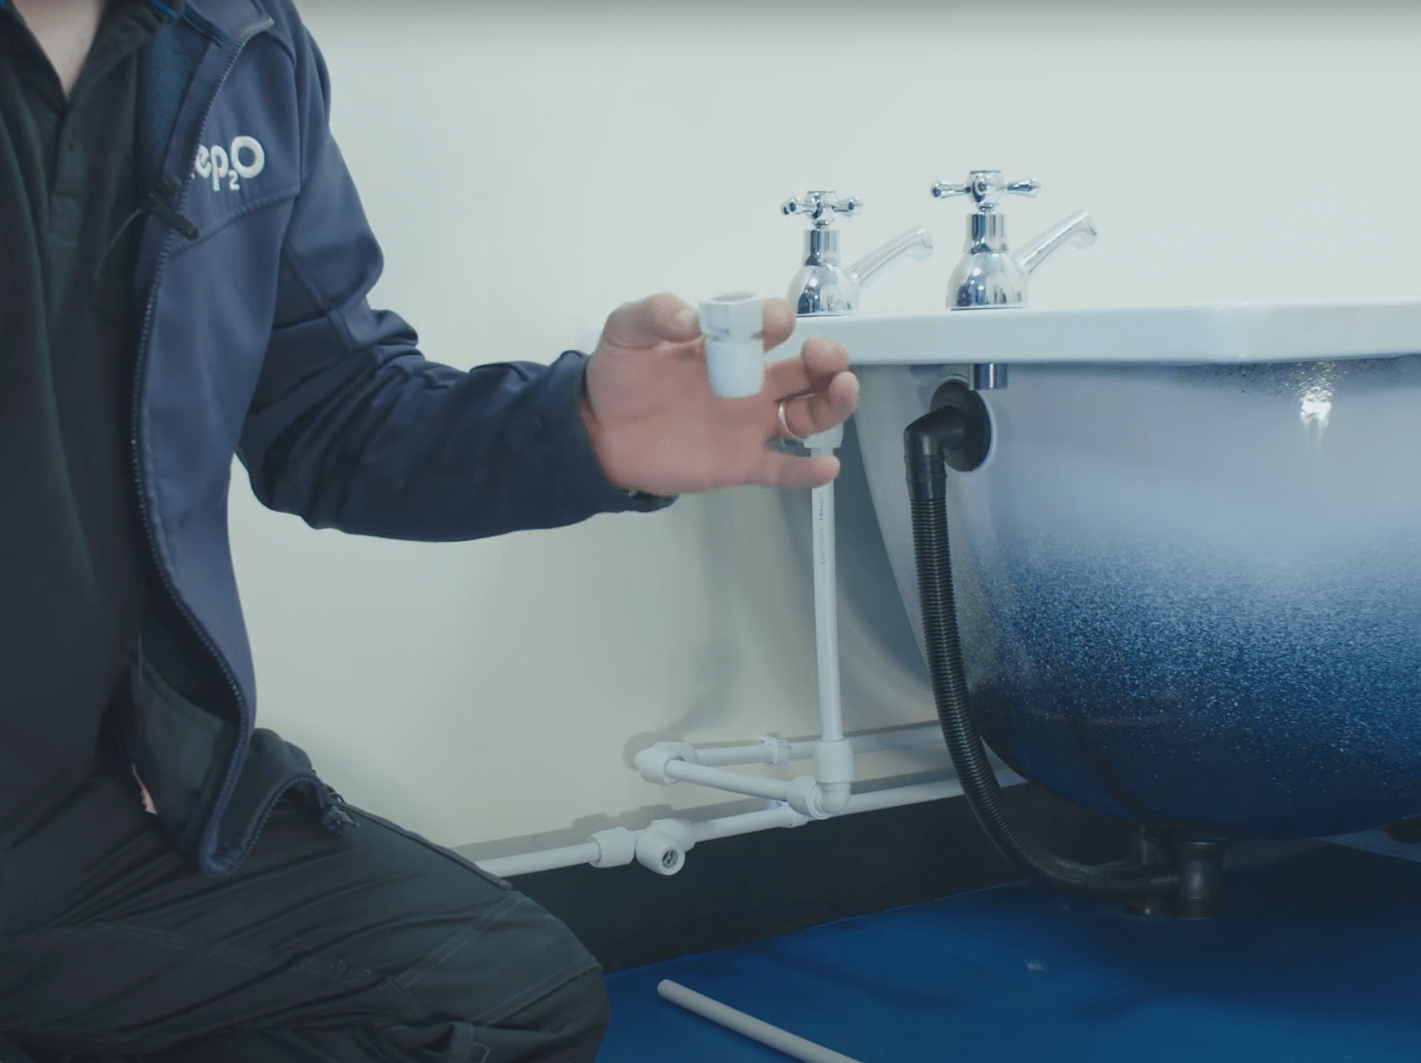
Step 2 - Inserts & connect to Tee joint
Place the inserts into the PB pipe and insert the pipe into the Hep2O tee joint.
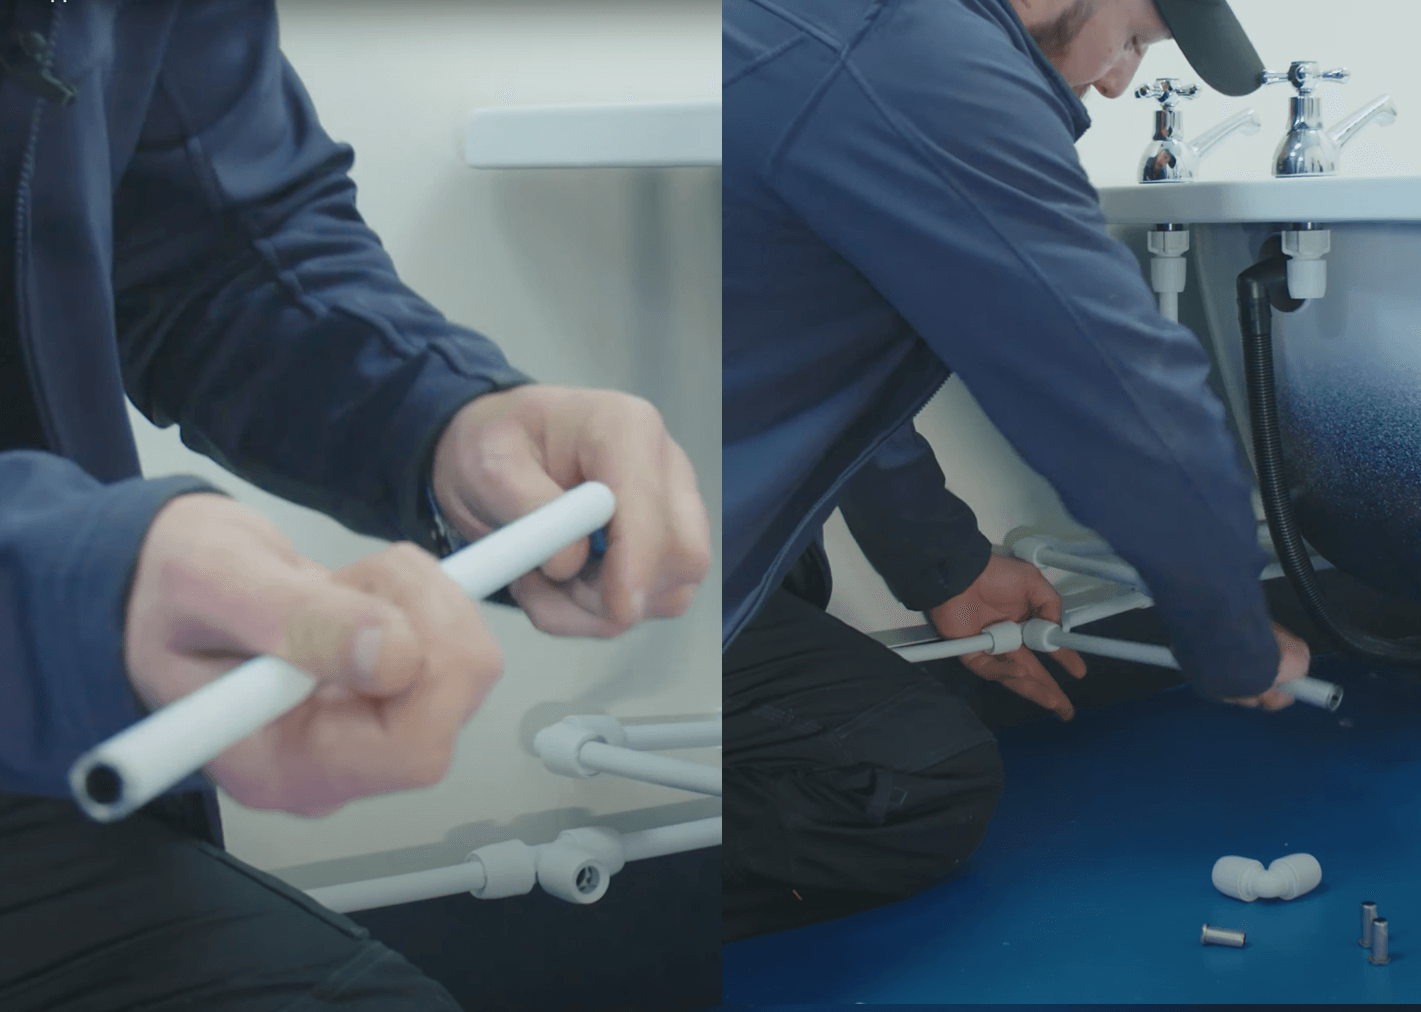
Step 3 - Pipe to Hep2O elbow
Connect pipe to the Hep2O elbow, then twist to feel the rumble and it's In4sure.
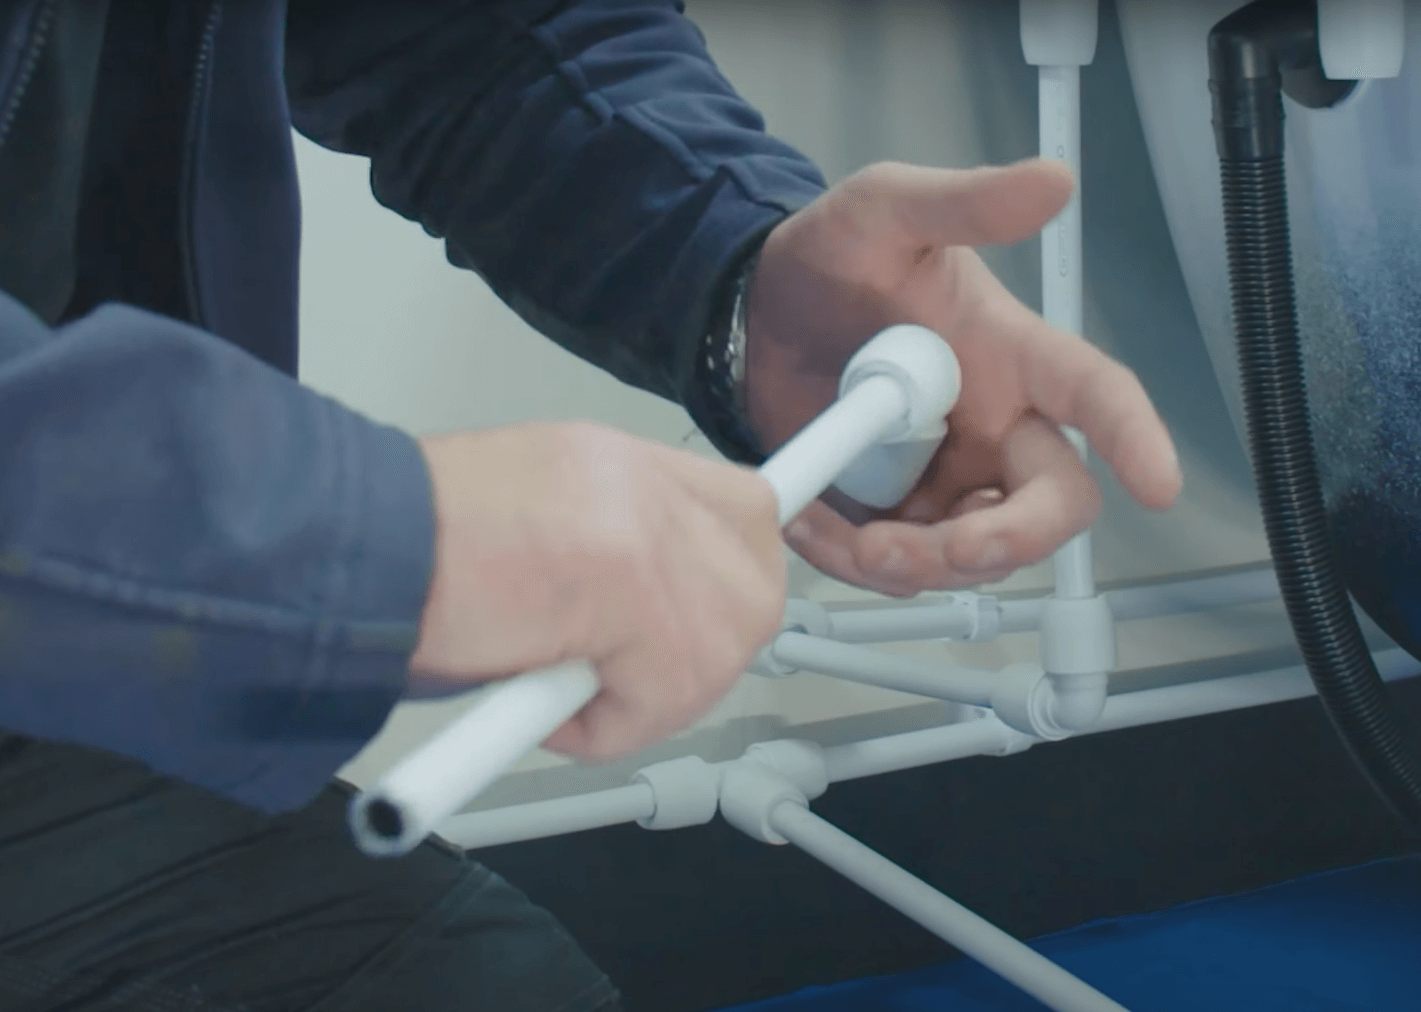
Step 4 - Connect to tap connector
Watch video on "How to connect Hep2O to bathroom appliances"
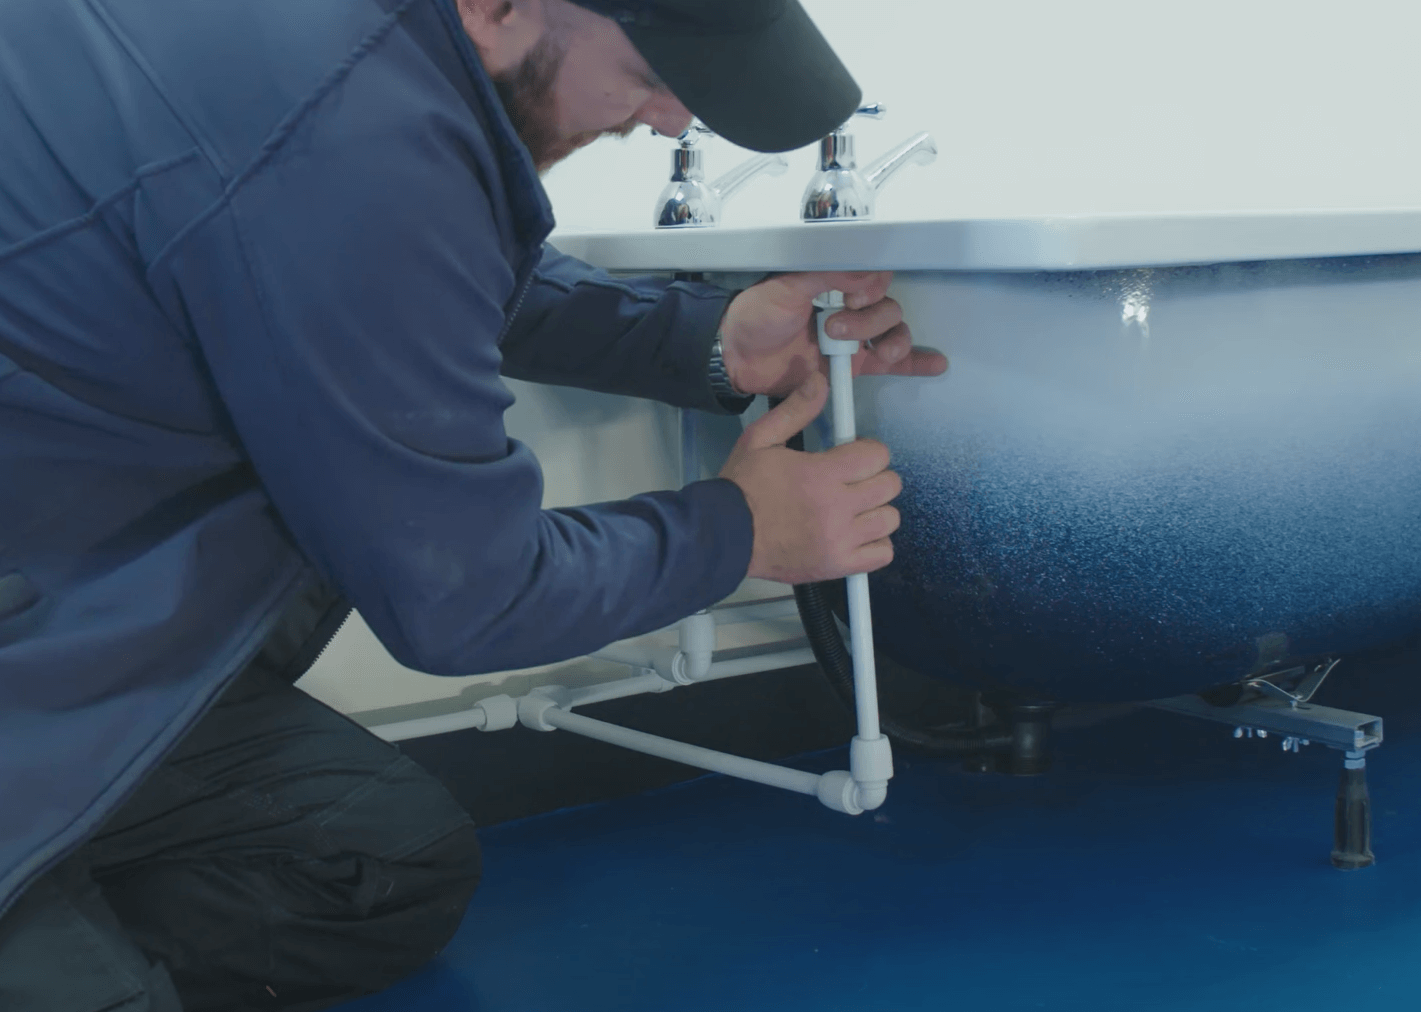
How to install Wavin Hep2O pipe runs and tee joints

Step 1 - Tape pipe end
Take the Hep pipework and tape upthe end to ensure no muck gets into the pipe.
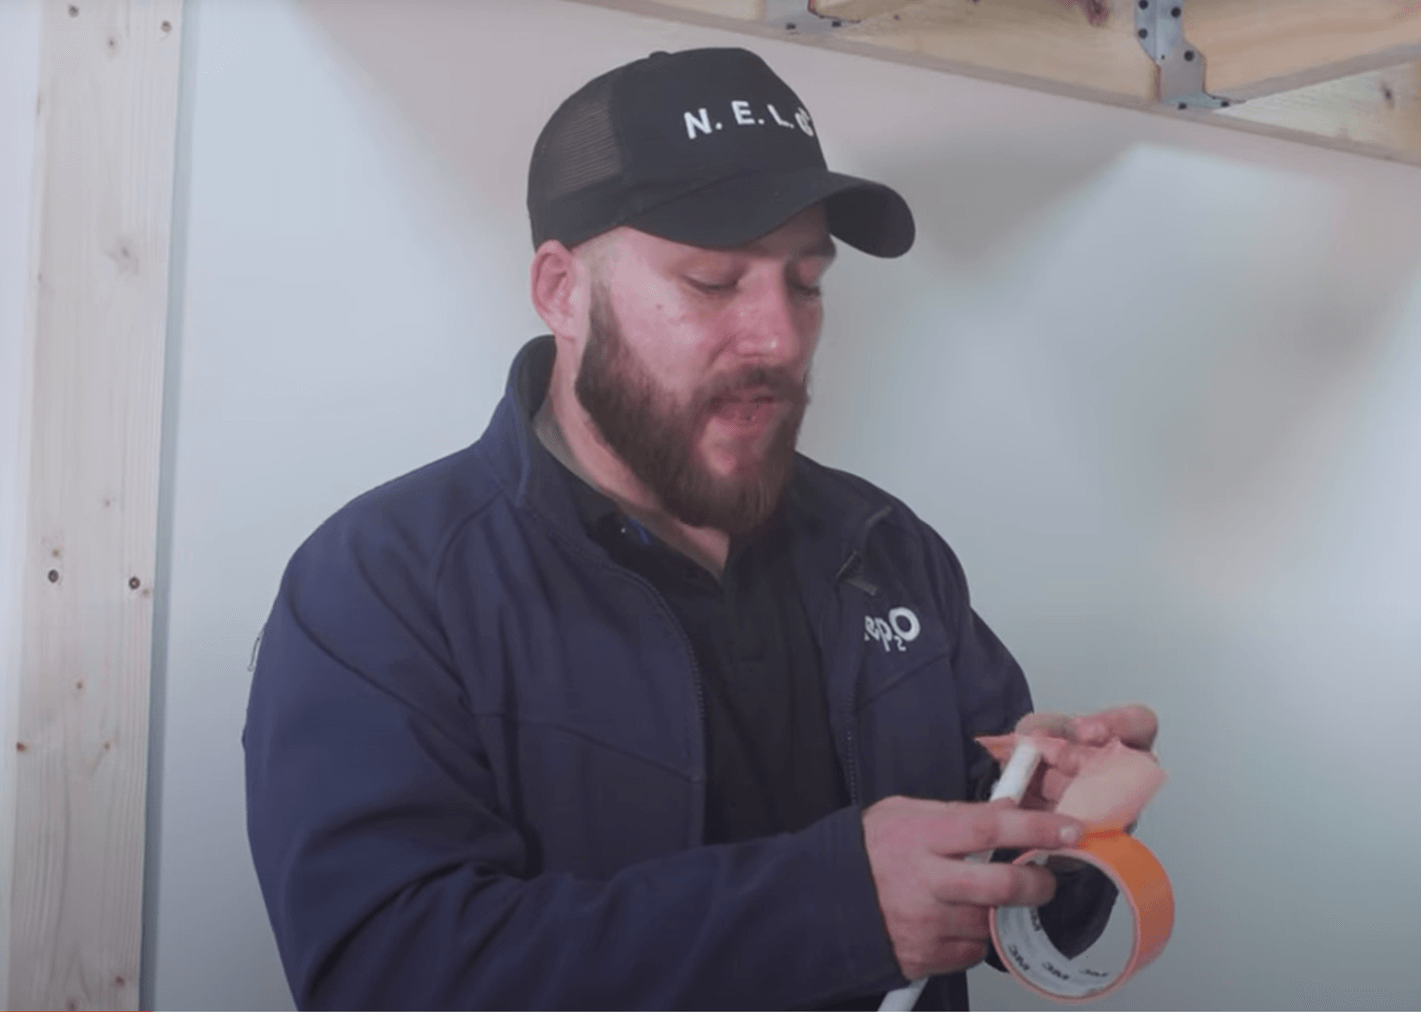
Step 2 - Feed thru joists

Step 3 - Slice pipe
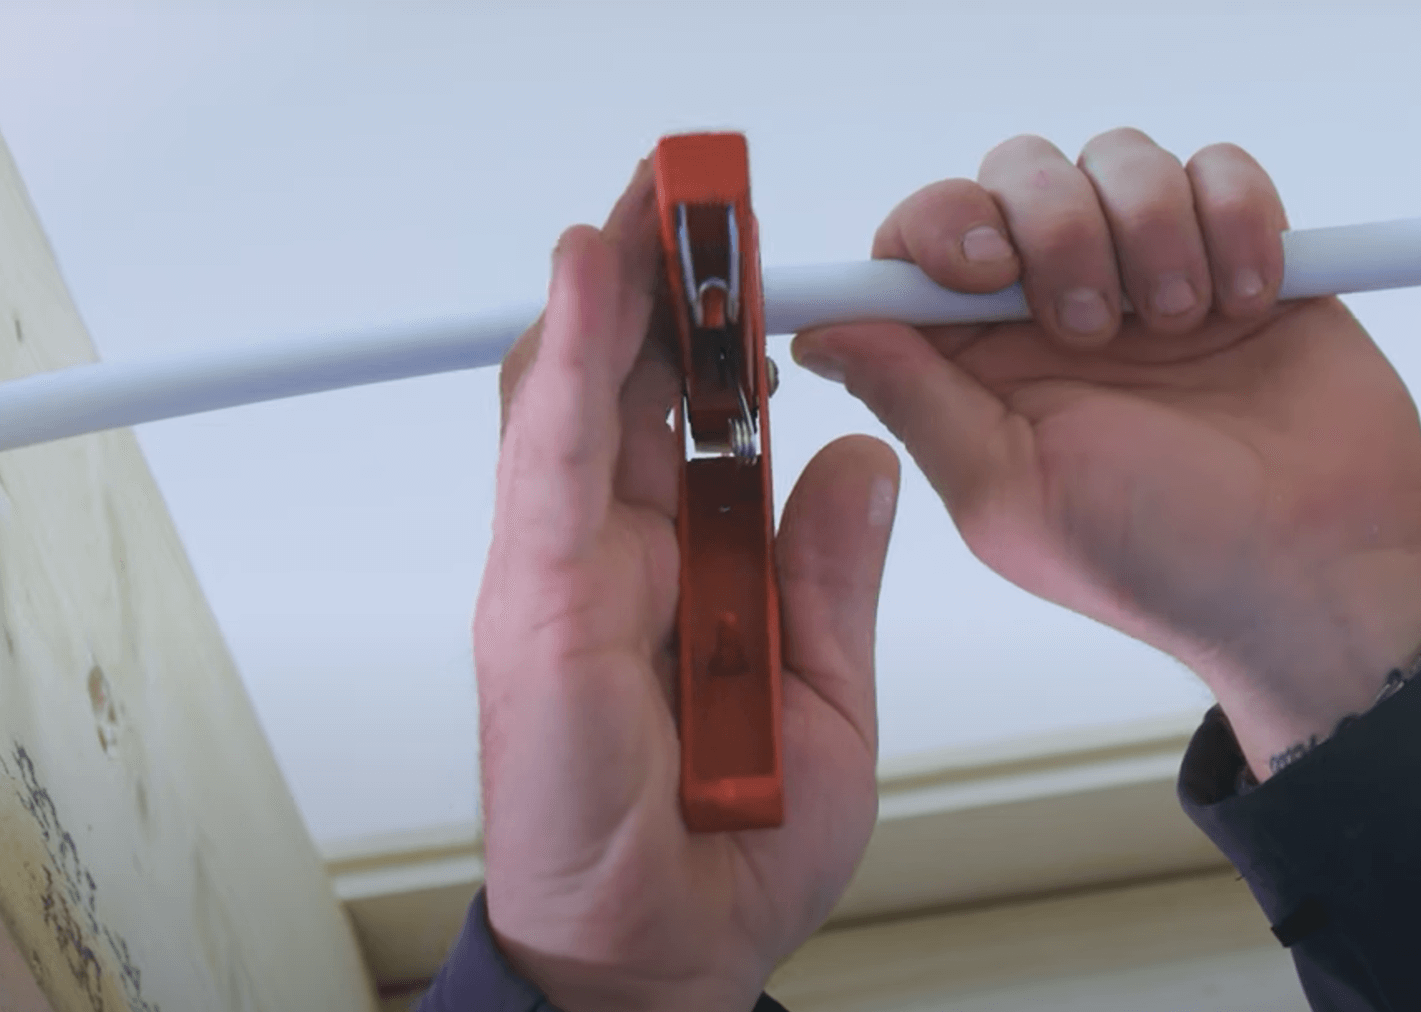
Step 4 - Smart sleeves to be inserted
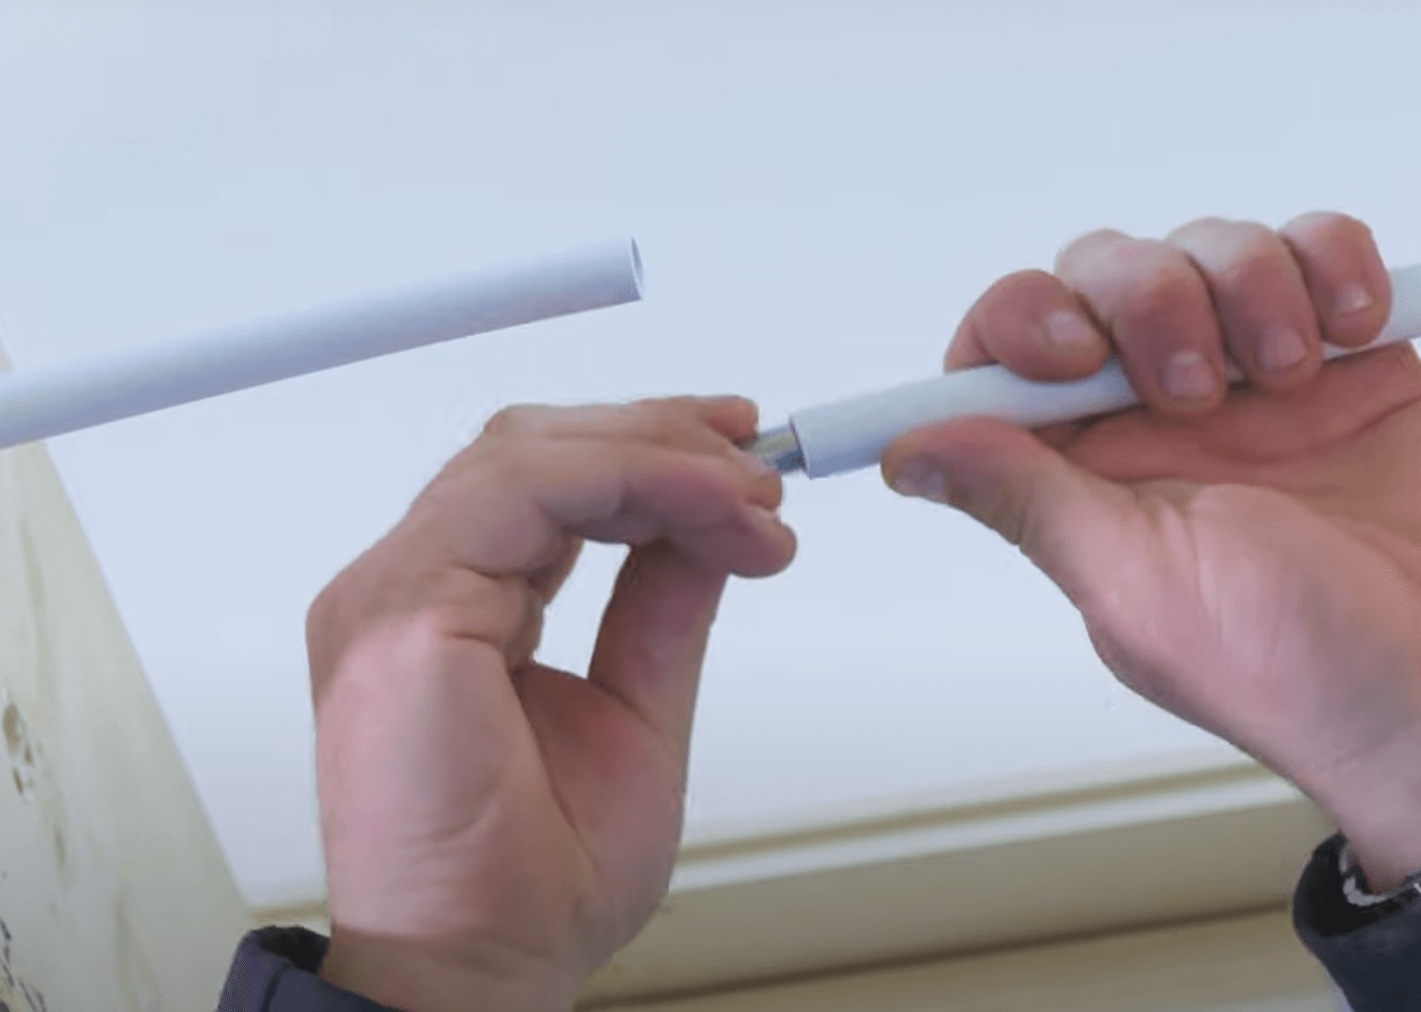
How to connect Wavin Hep2O to kitchen appliances
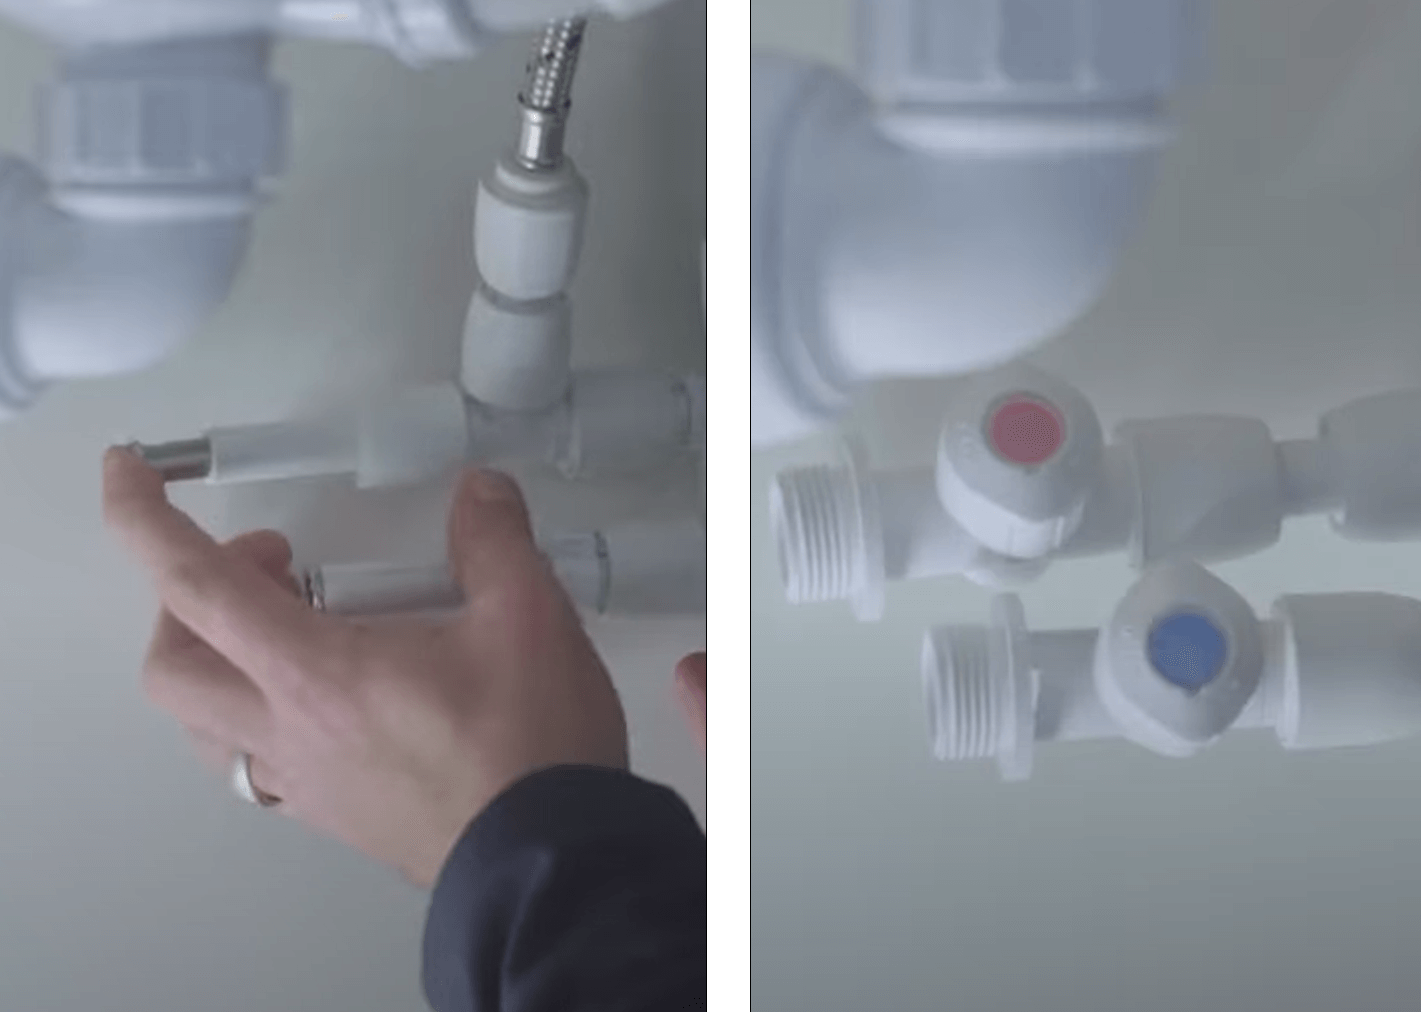
This section covers the installation on hot and cold pipes, which connect isolators that could be used to connect the water to the kitchen sink, dishwasher and washing machines.
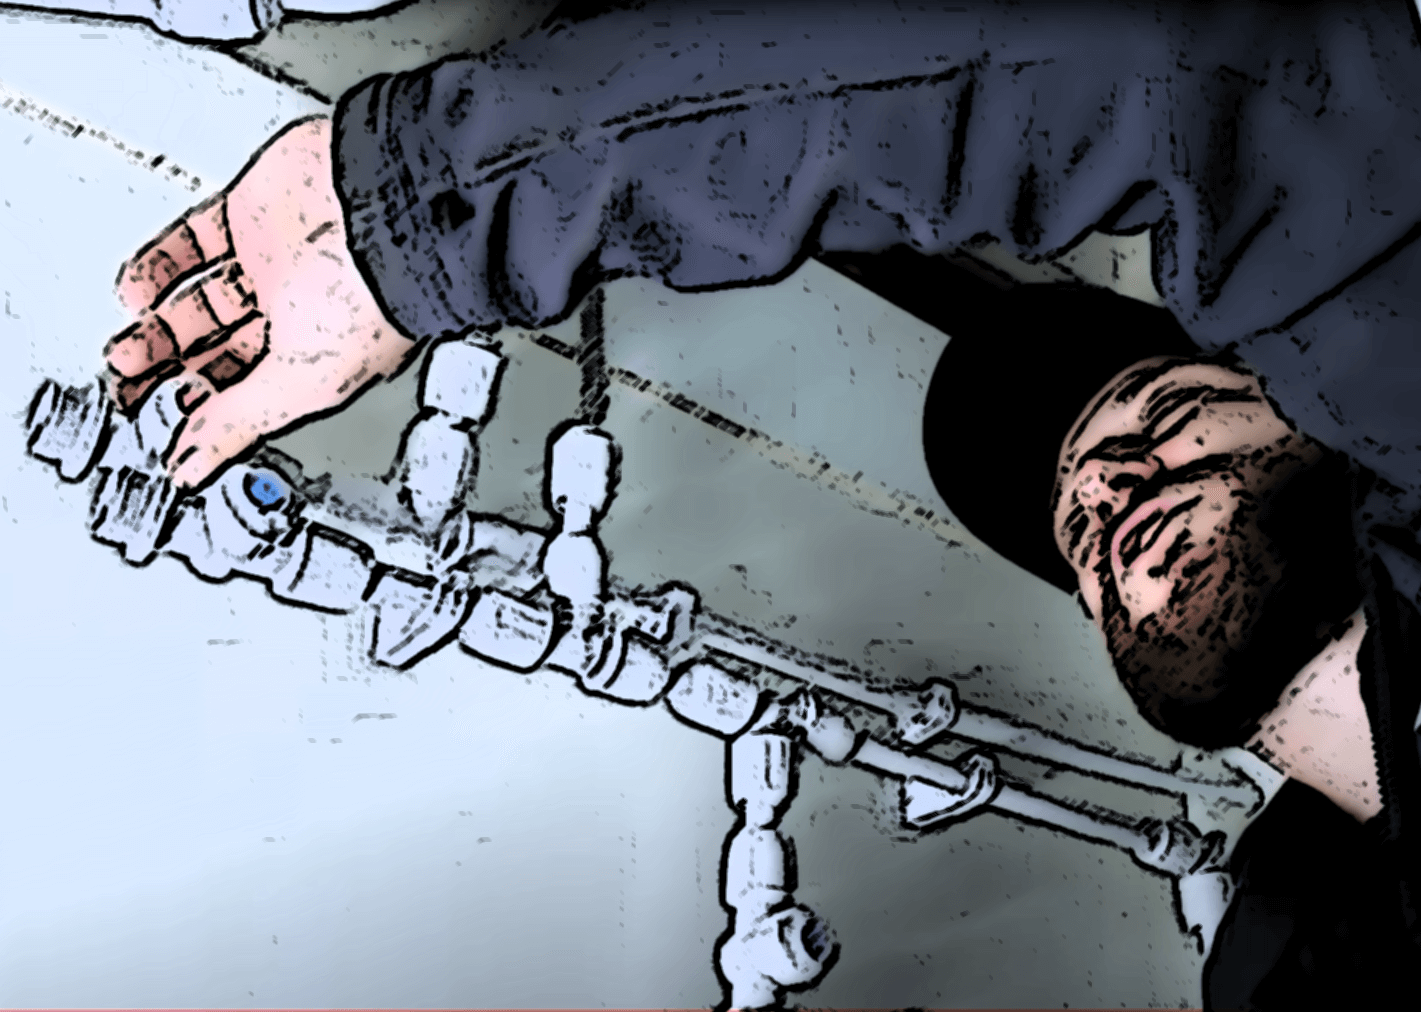
Step 1 - Smart sleeves into pipes
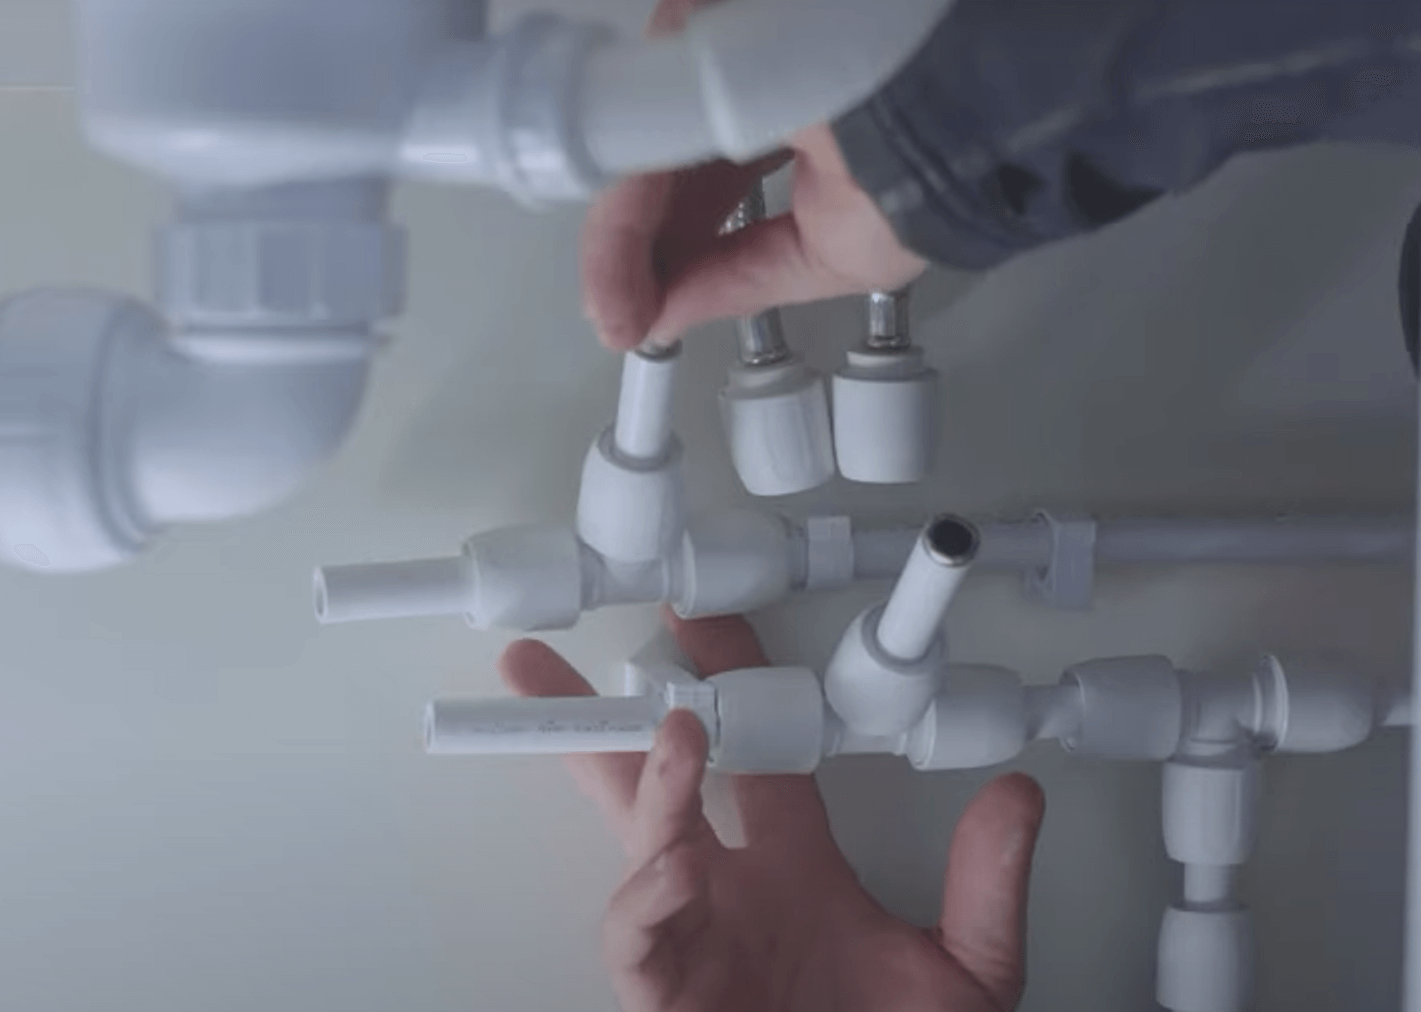
Step 2 - Hose to pipe
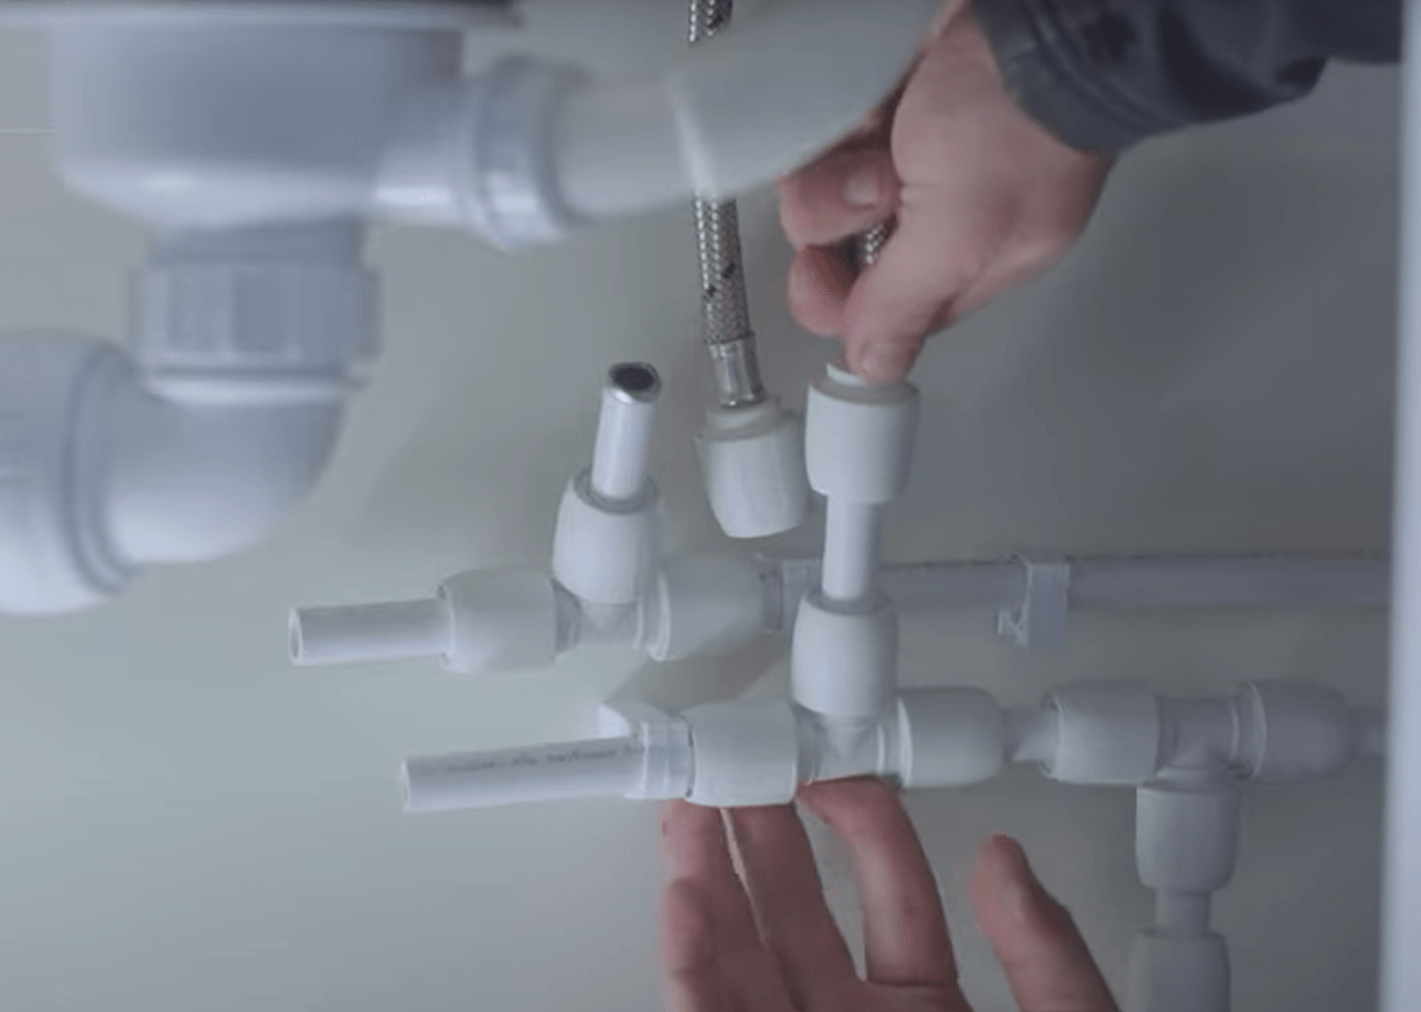
Step 3 - Twist to ensure In4sure
Twist to ensure that the pipe is secured and In4sure
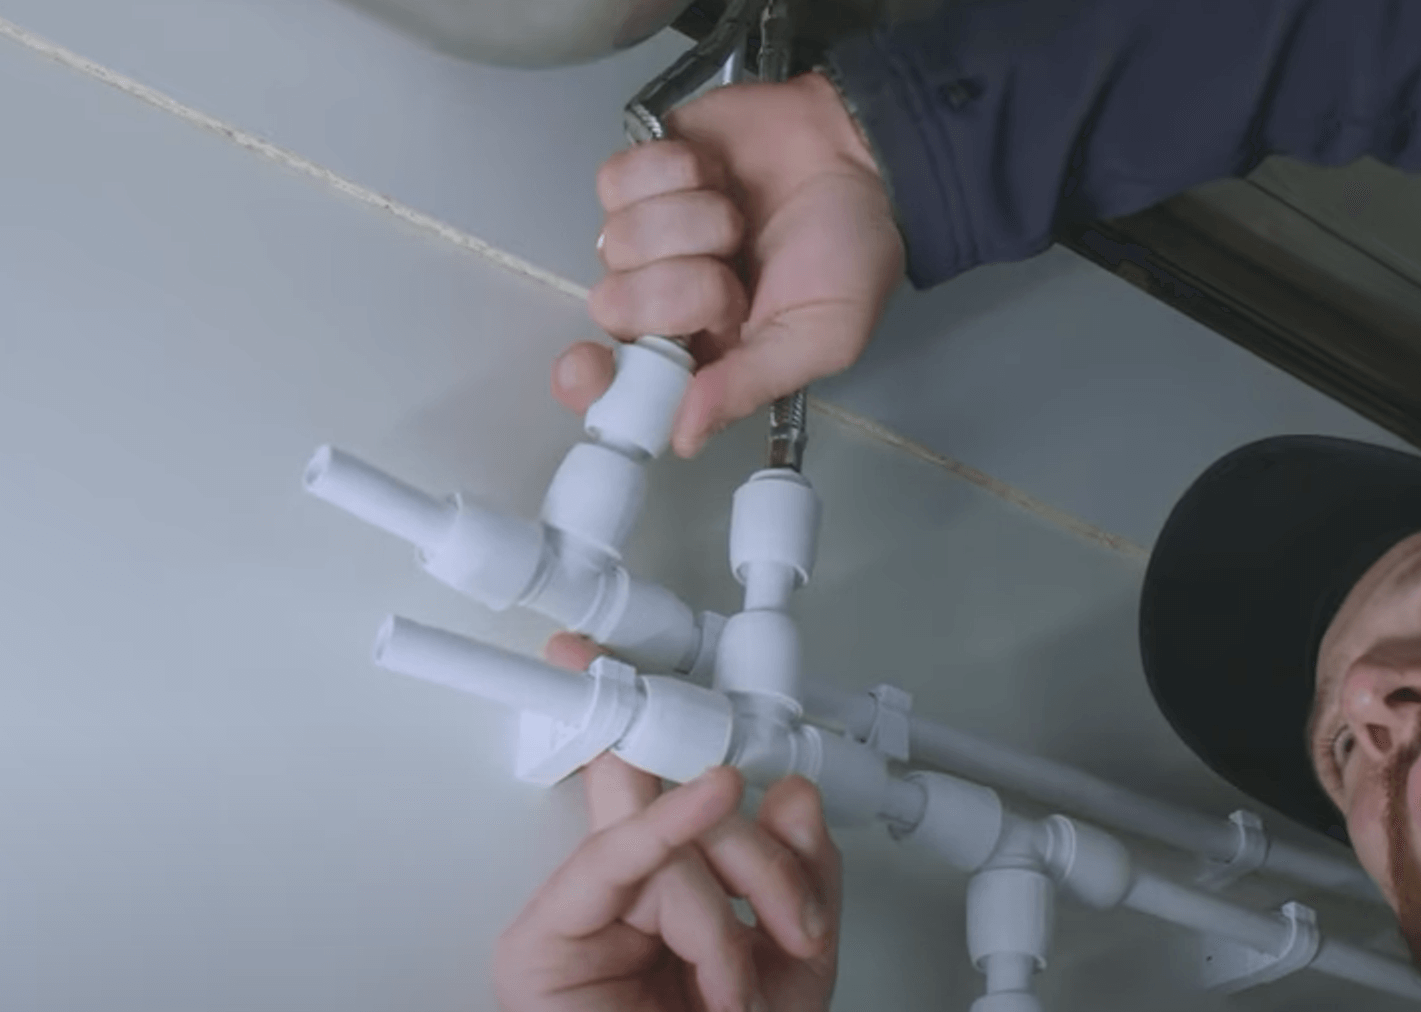
Step 4 - Repeat for isolators
Repeat the process for hot and cold isolators.
Watch the video on "How to connect Hep2O to kitchen appliances"
Installation Testimonials
